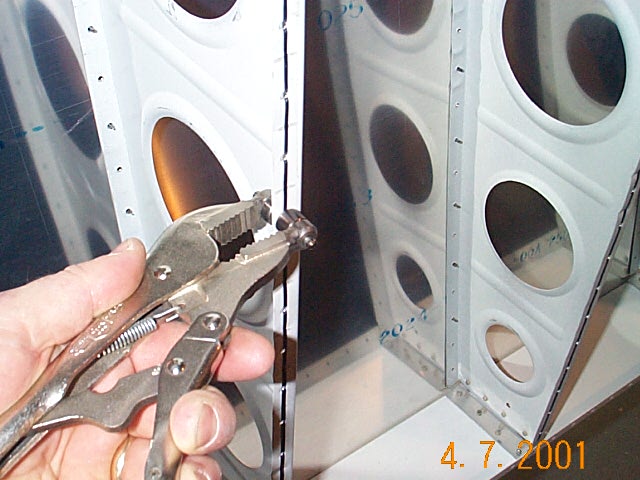
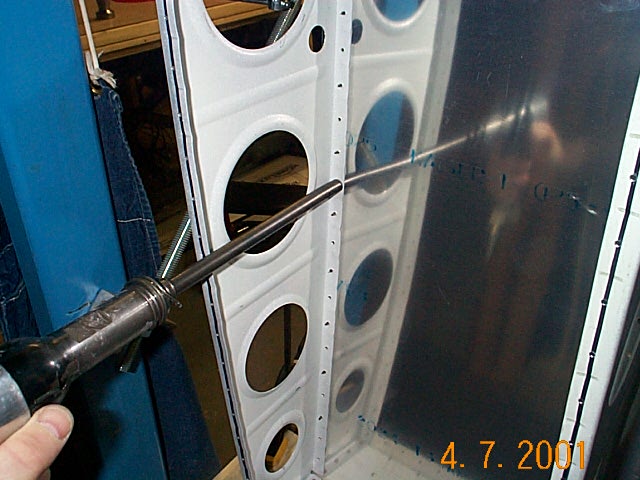
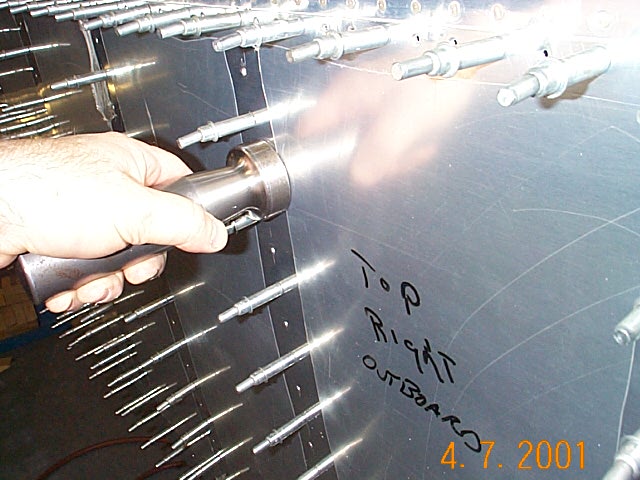
Preparing to Rivet Top and Bottom Main Skins

DCP01780.JPG (77130 bytes) DCP01781.JPG (74808 bytes) The construction manual calls for the top inboard main skin to be cut  for flap clearance.  I first drilled a small hole at the intersection of the two cuts then CAREFULLY cut the inboard main skin.  I then filed the edges of the cut skin to that the inboard and outboard skins fit correctly.

DCP01776.JPG (86546 bytes) DCP01777.JPG (83779 bytes)

I made some modifications to the plans here.  The plans call for the outboard main skin to overlap the inboard main skin, then to file the corner to help smooth the overlap near the main spar.

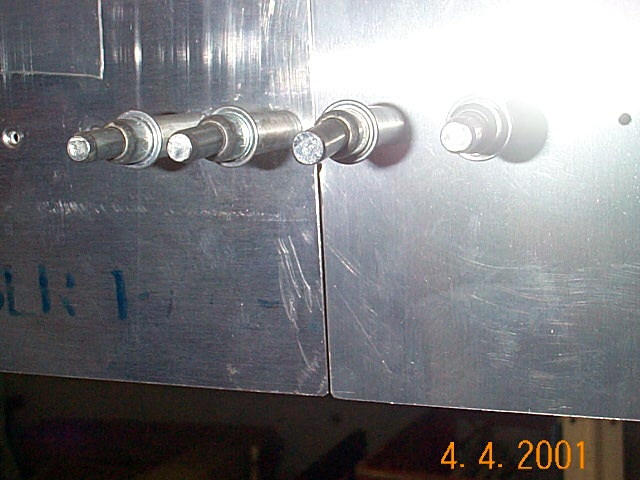
Instead, I cut a notch in the inboard main skin so the outboard and inboard skins would be the same and the overlap would be less conspicuous. 

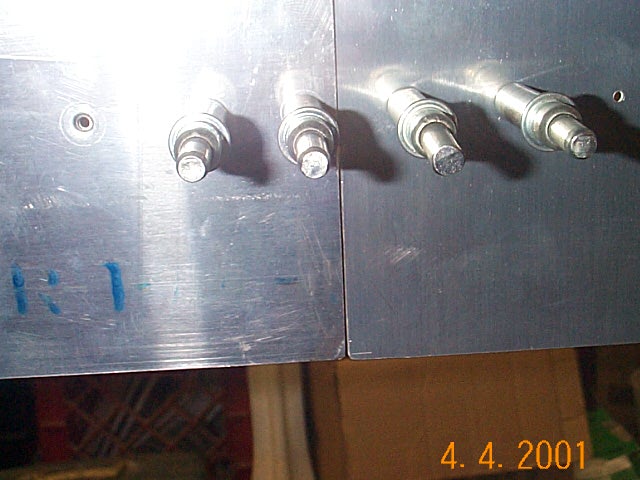
You'll notice the small gap between the Tank skin and the Main skins.  This looks bigger than it is.  The actual gap is only .020" (measured)

It turned out nice.

  Riveting the Main Skins
DCP01788.JPG (81571 bytes) I waited until just before skinning to dimple the ribs.  When doing both skins at the same time, that means a bunch of dimples.  Rather than lug that big, heavy Avery squeezing tool, I finally made use of my dimple vice grips.  It worked pretty easy.  The finished dimples are not quite a good as with the squeezer but they will be good enough.
DCP01787.JPG (83817 bytes) DCP01786.JPG (86379 bytes) The plans call for installing the bottom skins first but I've decided to install the top skins first so that I could back rivet them.  Don Mack loaned me his back rivet set and bucking bar to do the job.  I've seen top skins that were back riveted and those that were driven using the swivel set.  Both look good when done properly but the back riveted skins just seem to have a better, smoother look.