|
|
|
|
Prosealing
The Tanks |
|
|
|
I was a little worried about mixing the
Proseal. I
have heard that Proseal needs to be mixed accurately in order to set properly. I
didn't feel like making a scale so I decided to mix it by volume. I worked
out the calculations and determined that 1/3 cup of Proseal to 1 1/4 teaspoon of
catalyst would be the right ratio. I comshawed some measuring devices from
my wife's kitchen drawer and was in "bidness". It also happens that this is just the
right amount of Proseal mixture per work session. This amount fills the syringe over 3/4 full and was enough to do all the stiffeners, fuel filler and
fuel drain plus a little extra. It was also just enough to do 4 ribs and
the access reinforcement plate. I suspect it will be just enough to do the
last 2 ribs and baffle as well.
|
|
|
I'm barely joking here when I say; "I don't know what all the concern is
about wiping down the contact surfaces with MEK." I've still got
Proseal stuck to my skin and it's been a week! I can not
imagine that not wiping the surfaces would cause any real problems with
the Proseal sticking properly. With that said and in
the interest of learning from others, I
still wiped everything down and soaked the rivets in MEK |
|
 |
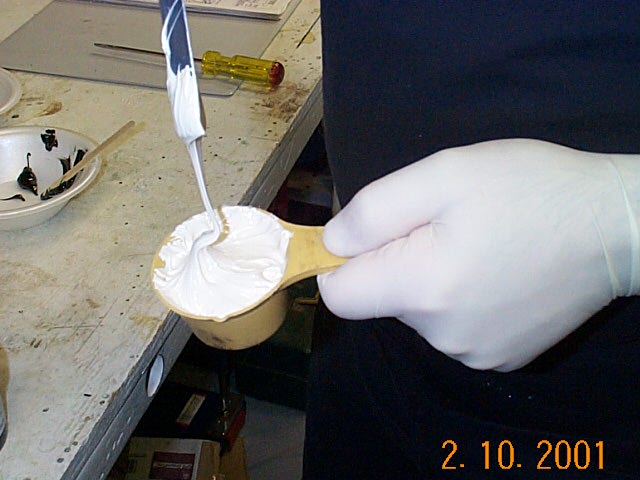
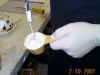
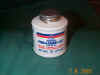
My procedure for mixing up the Proseal goes like this. Measure 1/3
level cup of Proseal. I use a scrap piece of stiffener angle as a
scoop and a leveling tool. Then mix 1.25 tsp of black catalyst into
the Proseal. This ratio give me about a 2 hour work time (maybe a
little longer) at 65 deg. After mixing in a polystyrene bowl, I use
a Popsicle stick to fill the syringe. Use the Popsicle stick to sort
of force the goop down into the syringe. |
|
If you don't
drill out the tip of the syringe with a 3/32 drill then it's a little
tough to squeeze the mixture out. |
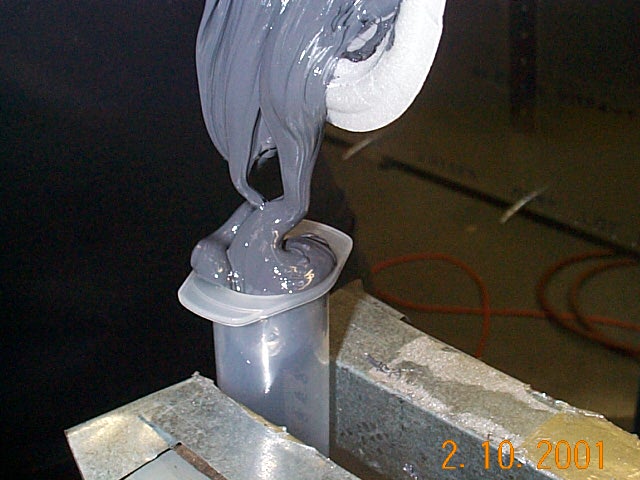
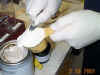
I don't know if it's been tried before, but I decided to try
and make this job easier and used a syringe. Before putting the goop in
the syringe, I drilled out the tip as big as I could with a 3/32"
drill. Now the Proseal goes exactly where I want it and I use a Popsicle
stick to "butter" the stiffener or flange afterwards. It also works
great for "injecting" the stuff into tight spots. I bought
6 syringes for about $1.50/ea. |

Don't even try to pull the plunger out when
the Proseal is all
gone. Not gonna happen. The
proseal in the syringe is not thinned. |
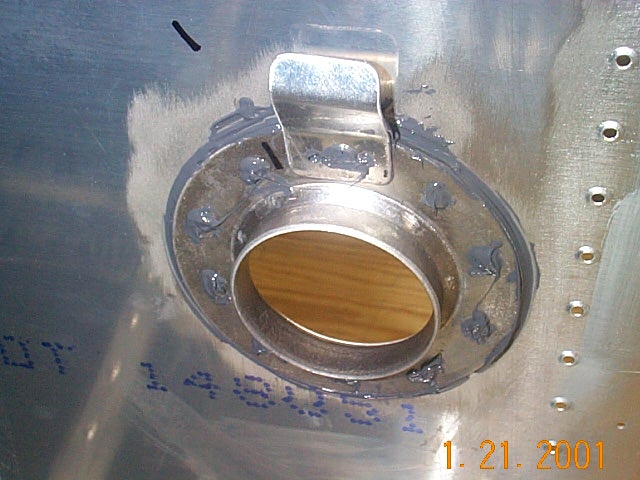
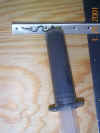
I made a
mistake and put the bracket on the wrong side of the fuel filler.
That just means that I have to bend the vent line a little. |
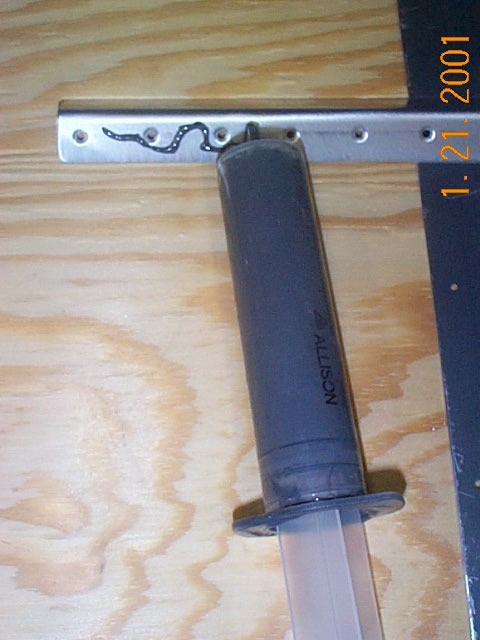
Here is the fuel filler and vent mounting
bracket. After installing the flange, I used a Popsicle stick to
smooth the excess around the outside edge of the filler. |
 |
Here are the stiffeners installed. I
used a small amount of MEK and thinned a tiny batch of proseal. I
then cut half the bristles off a flux brush and used the brush to
"paint" the rivet heads and edges of flanges and
stiffeners.
I was concerned that the thinned proseal might not set up properly but
that proved to be unfounded. It's just as solid as the rest of the
proseal. |
|
I used MEK to
clean up the tank skin and tools. Be sure and use a respirator
with this stuff.
|
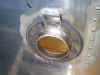
Here is the outside of the finished fuel
filler. The Proseal oozed out the rivet just like it's suppose to
and cleaned up easily . |
|
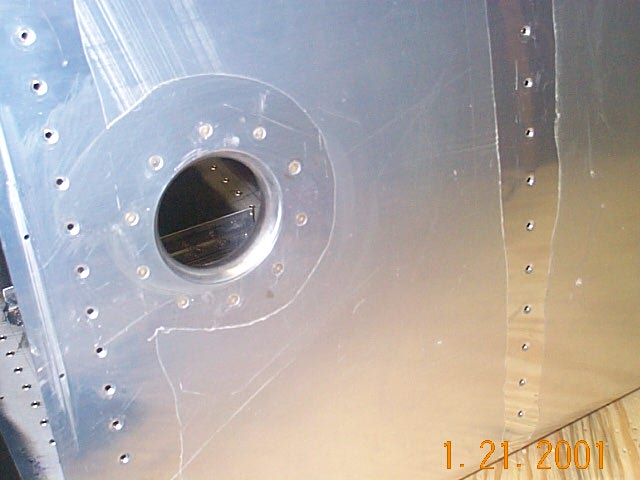
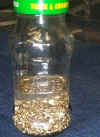
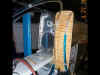
Here is the inboard side of the finished tank.
It's not the best picture, but you can see the proseal on just about
everything. |
|
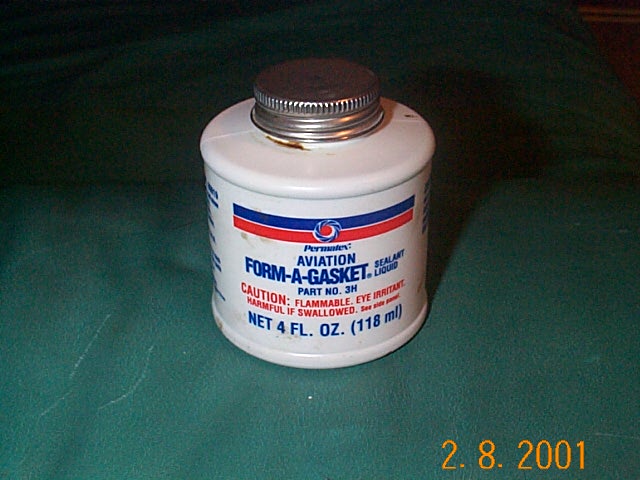
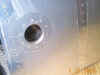
The access cover seen in the picture above is
attached with a gasket and screws. I didn't want to risk a leak here
so I used Permatex Form-A-Gasket as a sealer. This will seal the
gasket tightly but still allow the gasket to be removed in the future for
servicing without much effort. |
|
Testing the Tanks
|
|
|

|
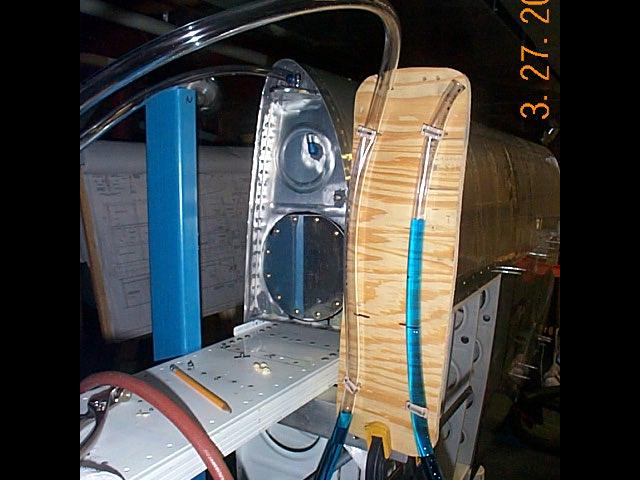
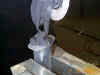
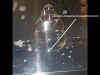
Success!! No leaks.
I built this simple manometer to check the fuel tanks for
leaks. A simple clear plastic hose is connected to the fuel
pickup tube and the vent line is sealed. At first I sealed the vent
tube fitting with tape and taped over the fuel tank cap. Initially
both of these leaked. I used a screw on cap I had for the vent and
tightened up the Fuel Cap.
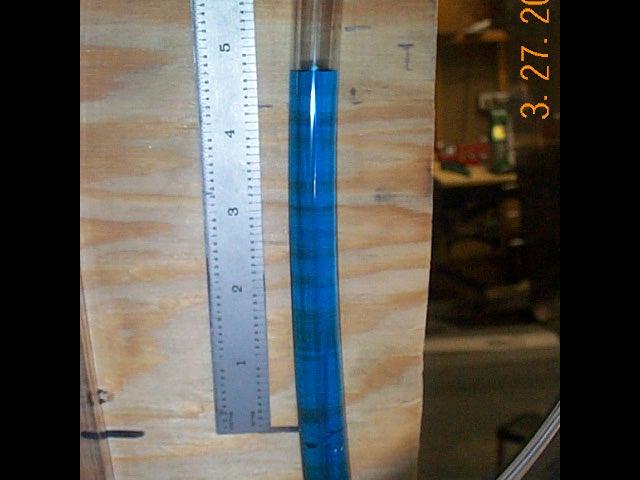
The manometer is nothing more than a clear plastic hose with a
"U" at the end. It's filled with colored water.
After everything is sealed up I put the air hose to the drain fitting and
gave it a couple of quick squirts of air, just enough pressure to raise the level of water 6" and then
marked that level with a felt marker. This method is also
safe. If you don't us too much water (I used one turkey baster full)
in the plastic tubing, you'll blow the water out of the tube before you
"over pressurize" the tank.
Initially it water level dropped due to the leaks
mentioned above but after those were fixed it stayed at about 5.75".
My basement is a constant 65" this time of the year so overnight
temperature changes shouldn't be a problem. |
|
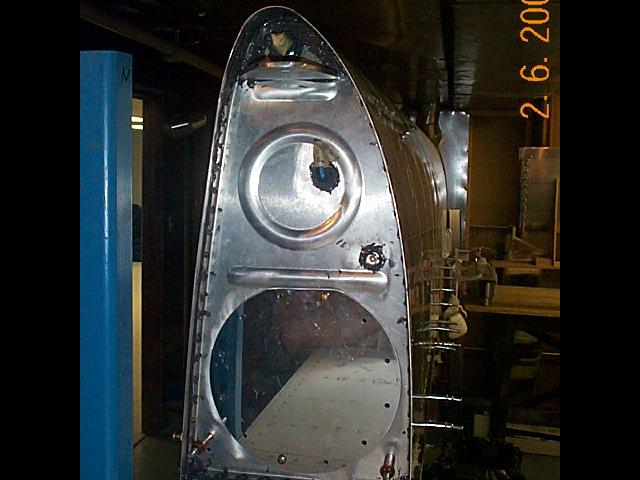
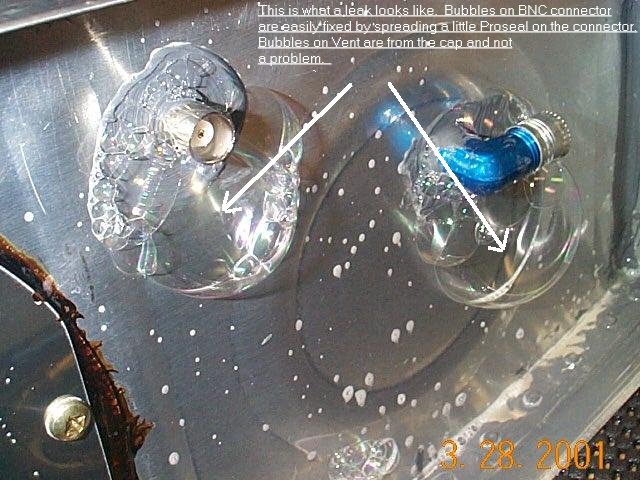
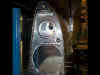
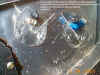
Here is what a leak in the 2nd tank looks
like. The area around the Capacitive Sender (BNC connector) leaked
and was easily fixed with a dab of a little additional Proseal.
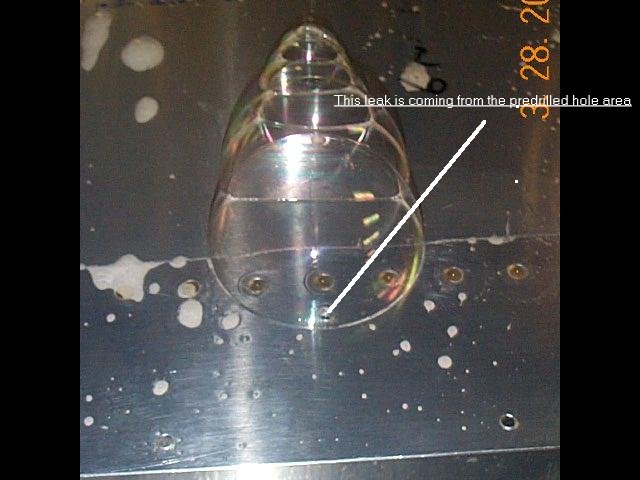
The bubbles on the bottom picture is from the pre-punched holes in the
skin. This is a little tougher to fix. I counter sunk the hole
per the plans then spread some Proseal on the countersunk area. The
screw will compress the Proseal and sit flush. |